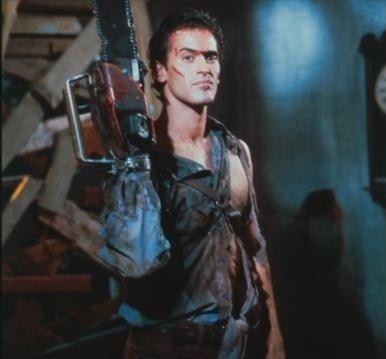
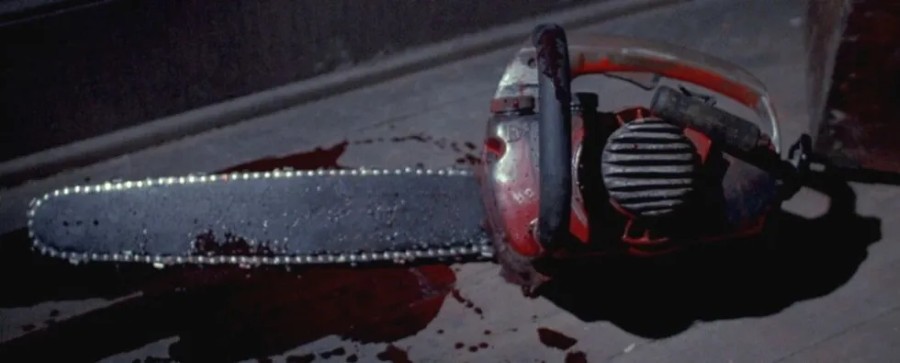
To get rid of some leftover chipboard from my garage, I thought it would be ‘groovy’ to create a prop version of Ash’s chainsaw from the Evil Dead franchise (the obvious solution of what to do with excess chipboard). This was quite a large build, so I’ll break up the description into sections.
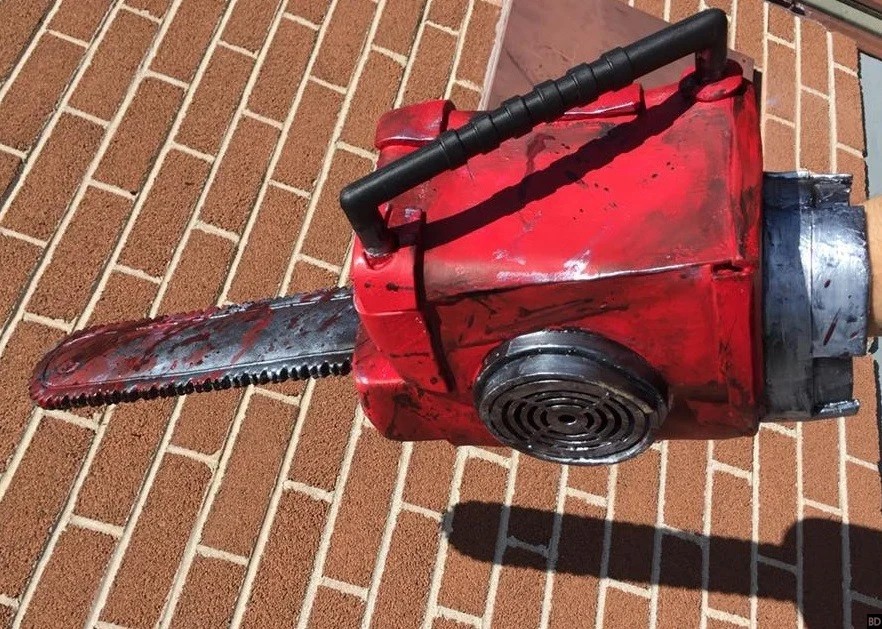
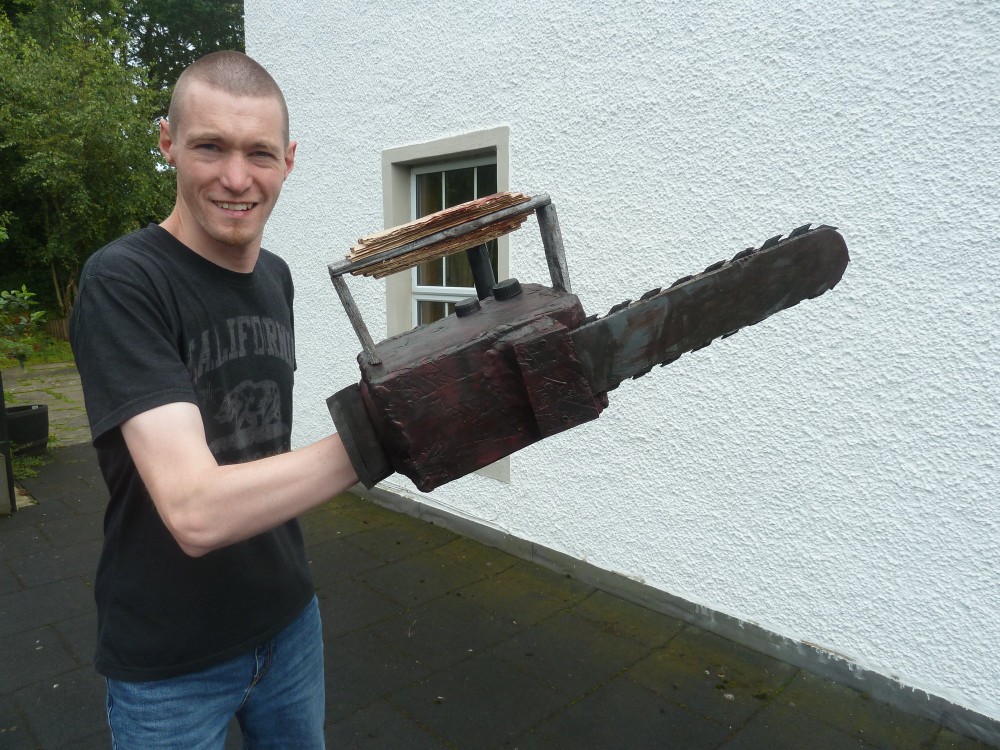
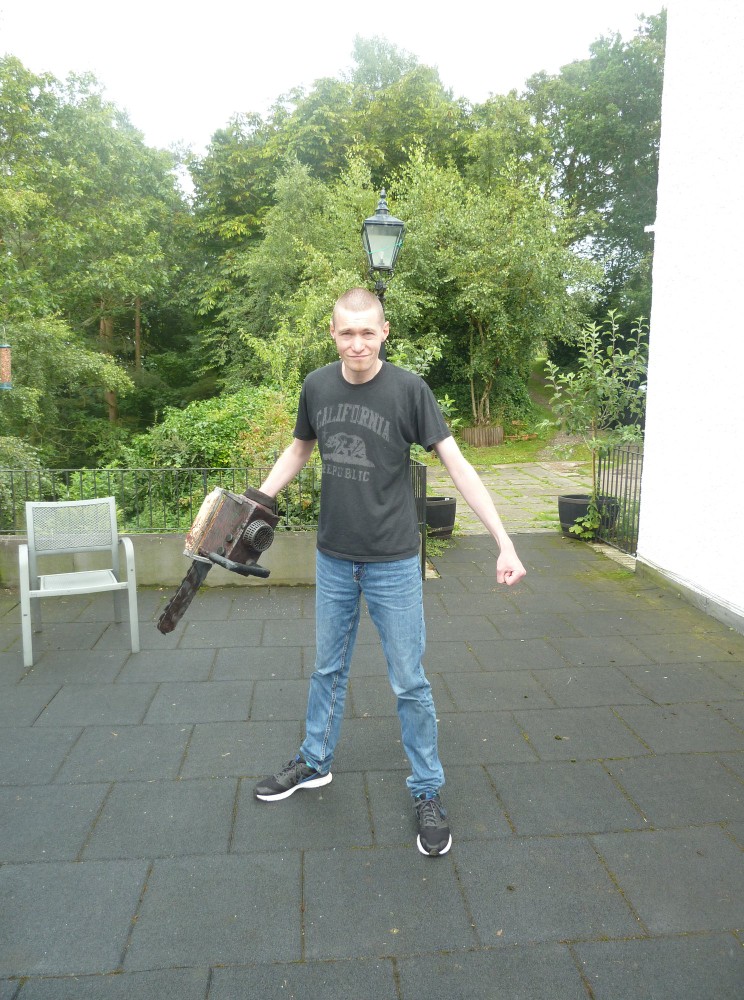
Main section – This is three pieces of chipboard, cut from a single larger piece and glued together into a cuboid shape, one side left open for someone’s hand to reach in. There is a central wooden shaft in the hollow structure made from a thick branch, taped in place with super-strong gorilla tape. The open panel is filled with the top of a circular plastic tub of washing machine pods – I’m pretty sure that they don’t make these anymore with humanity’s whole (and very proper) ‘single-use plastic, bad’ vibe now-a-days. What’s important though is it makes the perfect way for someone to get their arm into the main section while giving the impression that their arm ends in, what will eventually be, a chainsaw – it was basically a big wooden cuboid-shaped glove at this stage of the build. To cover up unsightly square edges and gaps, some red plasticine is squished into place. Finally, the entire unit is spray-painted red and given a black wash for weathering.Exhaust port and fuel caps – What I’m calling the exhaust port is the thing on the side which is covered by a circular grate. This look was achieved by a circle out of some thin cardboard (the base of a tissue box), spray-painted black and stuck on the side of the main section, mimicking a whole going into the interior of the chainsaw. This is overlaid by a section of old chicken wire, cut into a circular shape. Now, in real life, a hot exhaust port is going to have some sort of safety covering to stop idiots from sticking their hand in. To create this, a disused net plant pot – the kind that are used for water plants – became the perfect safety guard, this one even having a broken section at the base which could be imagined to resemble damage to the finished chainsaw unit as a severed Deadite finger pinged of the blade and hit the exhaust safety too hard, breaking it. Moving on, the fuel and oil caps are just bottle tops of two different sizes, spray-painted black and stuck on the top of the main section – Ash never uses these in the films anyway, don’t worry about it.Side handle – This was a tricky structure to create, involving free-standing curved sections and verticality. The straight-forward horizontal and vertical bits of the handle are the thick cylindrical card tube from a finished roll of kitchen foil, sawed into three sections of different lengths and spray-painted black. The curved sections were formed by hand from black plasticine and gorilla-tape. It all feels a bit wobbly on the final build and it definitely cannot be treated like an actual handle but it looks the part and that is enough for me. With the knowledge I’ve gained over the years after building a bunch more props, I could have done better, though, at this point, I have no plans to improve it. The handle is attached to the side of the main section and, that contact point reinforced with some extra black plasticine.Top handle – This is straight forward; a simple wooden beam cut into three pieces, scored to give the impression of use with scratch marks made by Deadites, spray-painted chrome to give a metallic aesthetic, given a heavy black wash to avoid the handle looking ‘new’ and, finally, glued in place with super-strong gorilla glue. For the wooden carrying handle that covers the top of the “metal” handle, three pieces of ‘springy’ cardboard of equal width but decreasing length are glued into a pyramid structure, starting long and ending short at the top. This forms the top handle cover. This is repeated for the bottom handle cover and both sets have some minor weathering along with a smattering of Deadite blood (fake blood mixed with a small amount of black paint to look demonic and dead). The top and bottom handle covers are attached to the “metal” handle with glue.Blade – The blade is formed of two components; first, the chain – the actual ‘cutty’ bit and, second, the bar – the long arm that the chain spins round. The bar is made from two identical sections of super stiff card, curved at one end, and spray-painted grey. The chain is also card, albeit thicker and less stiff. The chain that goes round the curved section is actually just single ‘chain’ pieces (“teeth”). This process of the build is a bit more complex as it requires measuring and drawing perfect curved edges but, once cut out, the entire chain was spray-painted black. The chain is laid along the outer edges of one side of the bar, small sections of the curved teeth cut away where necessary, glued in place and then sealed in a chainsaw sandwich by glueing on the top bar – being careful to keep the alignment of both sides. The blade was attached to the main section with an extra piece of chipboard, placed over the top of the end of the blade, leaving a slight indent so it looks like the blade continues into the chainsaw unit. The extra chipboard is screwed to the main section, spray-painted red and weathered to match the colour and some plasticine added to make a sloped ‘ramp’ for a more natural look. Finally, some Deadbite blood was added to the bar and chain of the blade for authenticity and because blood is just really, really cool.
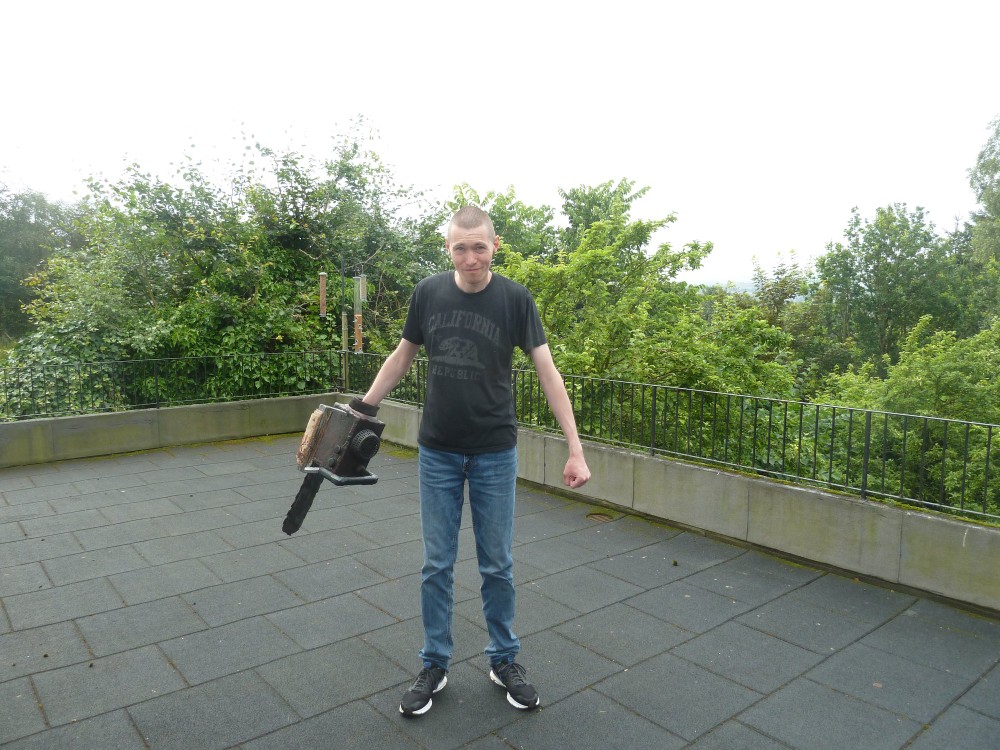
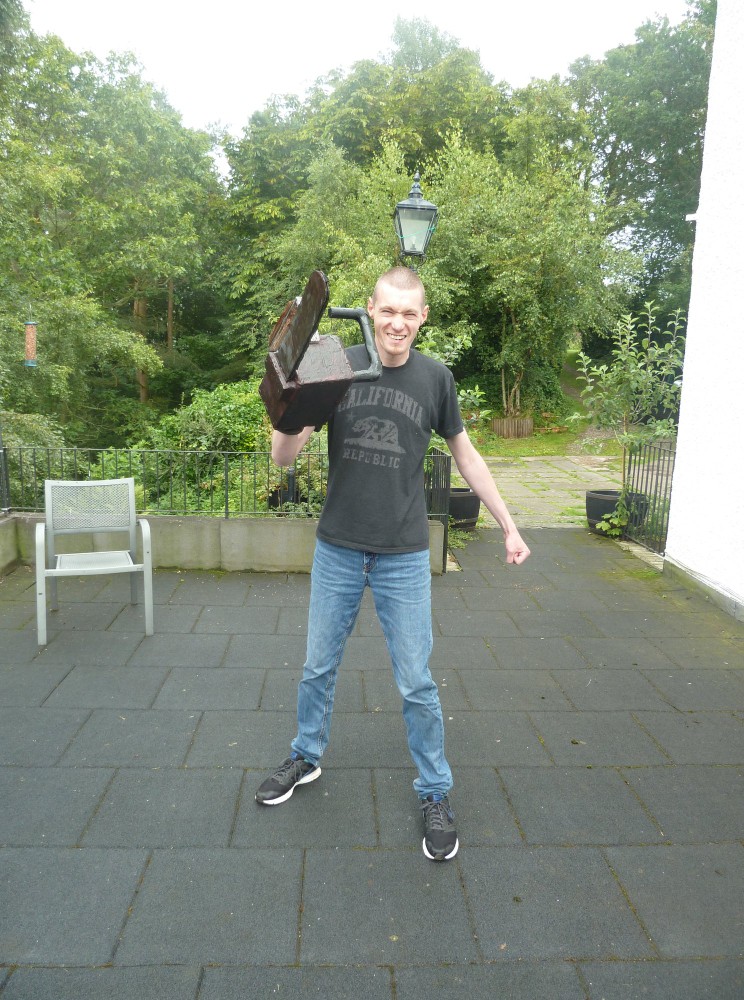
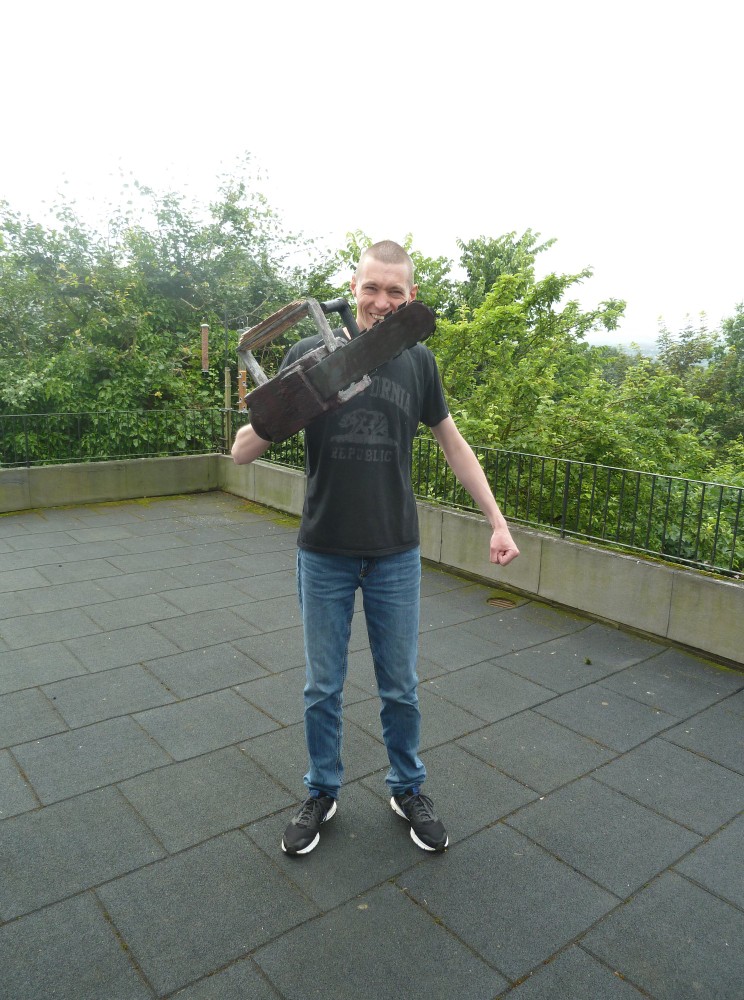
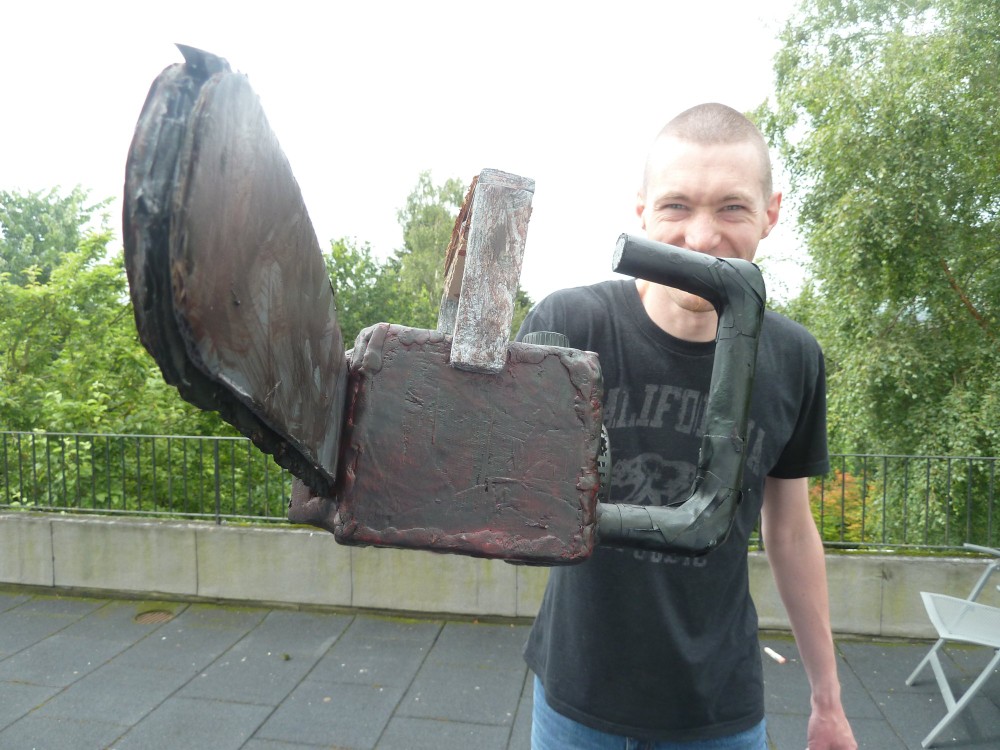
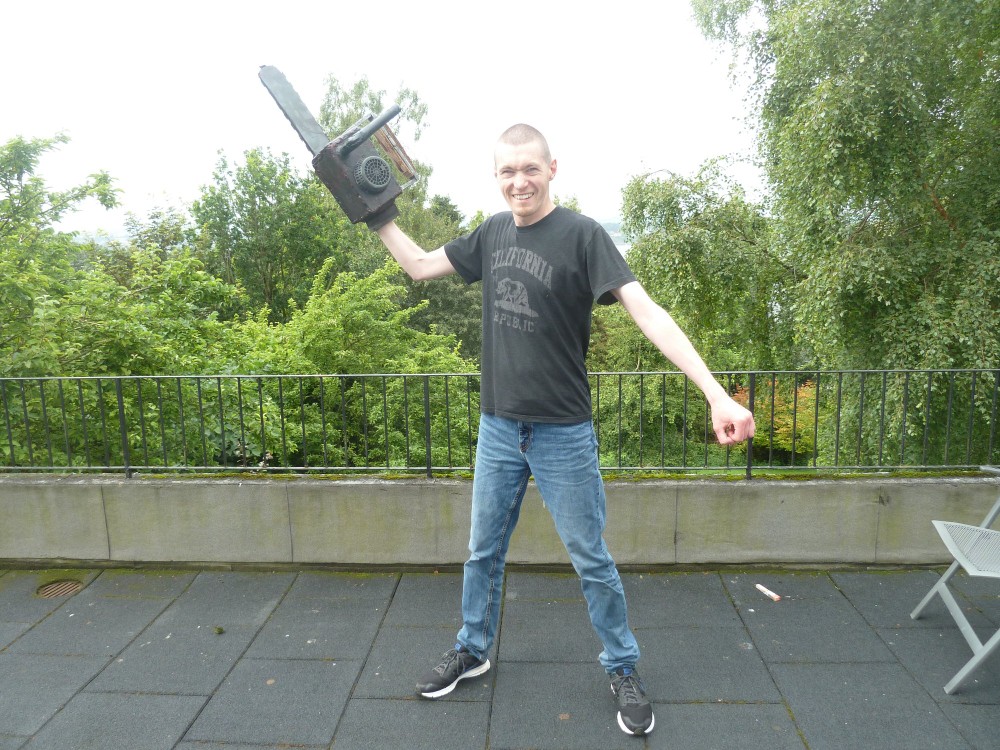
Below are the photos of the completed prop. Click on any photo to open a large version of that photo and then use the arrows to switch to a different photo. Click above or below the larger version of the photo to close it.
Below are the photos of the completed prop. Press any photo to open a large version of that photo and then use the arrows to switch to a different photo. Press above or below the larger version of the photo to close it.
Below are the photos of the completed prop. Press any photo to open a large version of that photo and then swipe left or right to switch to a different photo. Press the X in the top-right of the screen to close it.